


Download How to make notebook 3.3 APK for Android right now. No extra costs. User ratings for How to make notebook: 0 ★"
How to make notebook
Download APK
(31 MB)
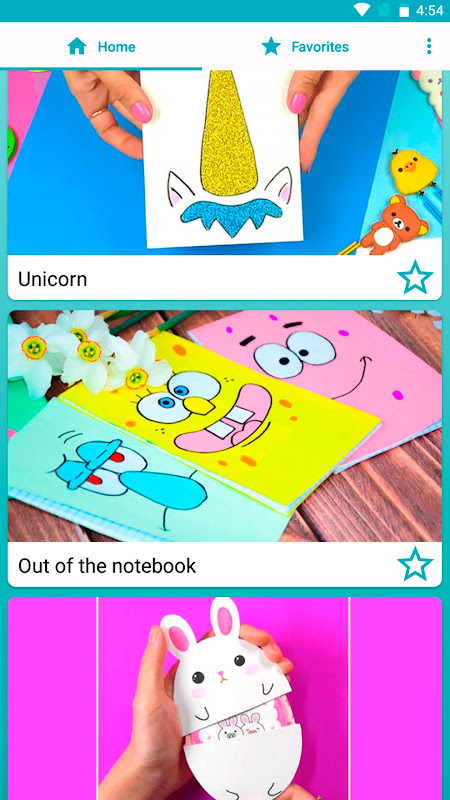
Screenshot
Description
Content
How to make notebook - is a great collection of ideas of making notebook yourself at home from scratch.
How to make notebook - is a great ideas of making a
notebooks without glue, stitching, and other simple ways.
How to make notebook - is step-by-step instructions of notebook out of things that will always be at home: cardboard, paper, felt-tip pens, paints.
If you have a notebook and you don’t know how to decorate it, we offer a large number of notebook design of cover.
How to make notebook works without the Internet.
Introduction
A notebook is an essential tool for organizing thoughts, ideas, and information. Whether for school, work, or personal use, a well-crafted notebook can enhance productivity, creativity, and learning. This guide will provide clear and logical instructions on how to make a notebook from scratch, empowering you to create a customized and functional tool that meets your specific needs.
Materials
To make a notebook, you will need the following materials:
* Paper: Choose paper that is durable and suitable for your intended use. Options include notebook paper, printer paper, or specialty paper such as graph paper or sketchbook paper.
* Cover: The cover protects the notebook and gives it a professional appearance. Consider using cardboard, heavy-duty paper, or fabric.
* Binding: The binding holds the pages together. Options include staples, rings, or glue.
* Ruler or measuring tape: For accurate measurements and straight lines.
* Pencil or pen: For marking and drawing.
* Scissors: For cutting paper and fabric.
* Optional: Decorative elements such as stickers, ribbons, or paint for personalization.
Instructions
1. Determine Size and Paper Count
* Decide on the desired size of your notebook. Common sizes include A5 (5.8 x 8.3 inches) and A4 (8.3 x 11.7 inches).
* Determine the number of pages you need. Consider the purpose and expected usage of the notebook.
2. Cut the Paper
* Measure and cut the paper to the desired size. Use a ruler or measuring tape for precision.
* If you are using printer paper, fold it in half to create a booklet.
3. Create the Cover
* Cut the cover material to the same size as the paper.
* Fold or glue the cover material around the edges of the paper.
* Reinforce the corners for added durability.
4. Bind the Pages
* Staples: Fold the pages in half and staple them along the crease.
* Rings: Punch holes in the paper and insert the rings.
* Glue: Apply a thin layer of glue to the spine of the paper and press the cover in place.
5. Personalize (Optional)
* Add stickers, ribbons, or paint to the cover or pages for a personal touch.
* Decorate the edges of the paper with decorative tape or washi tape.
* Write a title or label on the cover to identify the notebook's purpose.
Conclusion
Congratulations! You have now successfully created your own custom notebook. With a little creativity and attention to detail, you can create a notebook that is both functional and aesthetically pleasing. Remember to personalize it to your liking and use it to organize, inspire, and document your thoughts and ideas.
Information
Version
3.3
Release date
Oct 27 2023
File size
31 MB
Category
Art&Design
Requires Android
5.1+ (Lollipop)
Developer
True Fun Apps
Installs
0
ID
truefunapps.notebook
Available on
